Configuration
Activate WebService-API
-
In order to connect your Outlook to the AristaFlow servers, you must first activate the WebService API. Therefore create configuration files with the name ADEPT2.properties for the Server, AutomaticClient and ProcessImageRenderer.
-
Save the file for the Aristaflow Server in the installation directory under the path ...\Aristaflow-Chronos\Server\conf with the following data:
LicenceManager.ExportVia = ${arflow:confVar.MainExportService}, ws
  OrgModelManager.ExportVia = ${arflow:confVar.MainExportService}, ws
  ProcessManager.ExportVia = ${arflow:confVar.MainExportService}, ws
  ExecutionManager.ExportVia = ${arflow:confVar.MainExportService}, ws
  WorklistManager.ExportVia = ${arflow:confVar.MainExportService}, ws
  RuntimeService.ExportVia = ${arflow:confVar.MainExportService}, ws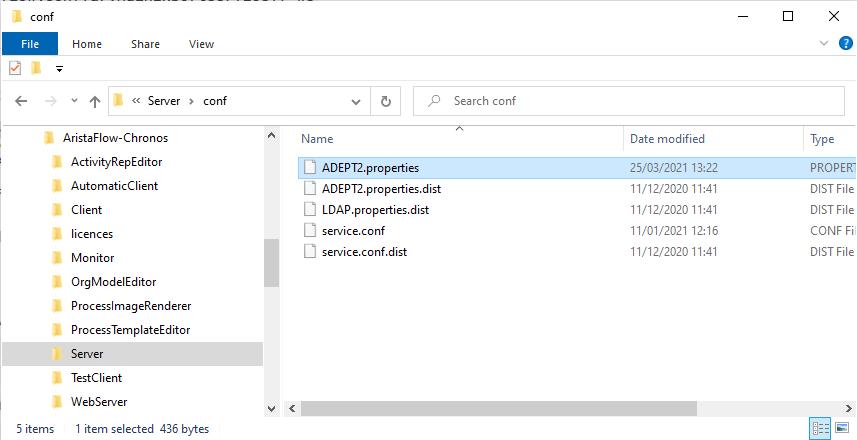
-
Save the file for the Automatic Client in the installation directory under the path ...\Aristaflow-Chronos\AutomaticClient\conf with the following data:
Instances.RuntimeManager = RemoteHTMLRuntimeManager RemoteHTMLRuntimeManager.Implementation = de.aristaflow.adept2.core.runtimemanager.defaultimplementation.DefaultRuntimeManager RemoteHTMLRuntimeManager.PublishService = true RemoteHTMLRuntimeManager.ExportVia = ${arflow:confVar.MainExportService}, ws GUIManager.Implementation = de.aristaflow.adept2.ui.guimanager.RemoteHTMLGUIManager HTTPService.Implementation = de.aristaflow.adept2.ui.htmlgui.httpservice.EmbdServContHTTPService ServletService.Port = 81 -
Save the file for the Process Image Renderer in the installation directory under the path ...\Aristaflow-Chronos\ProcessImageRenderer\conf with the following data:
ServletService.Port = 82
  ProcessImageRenderer.ExportVia = ${arflow:confVar.MainExportService}, ws
-
-
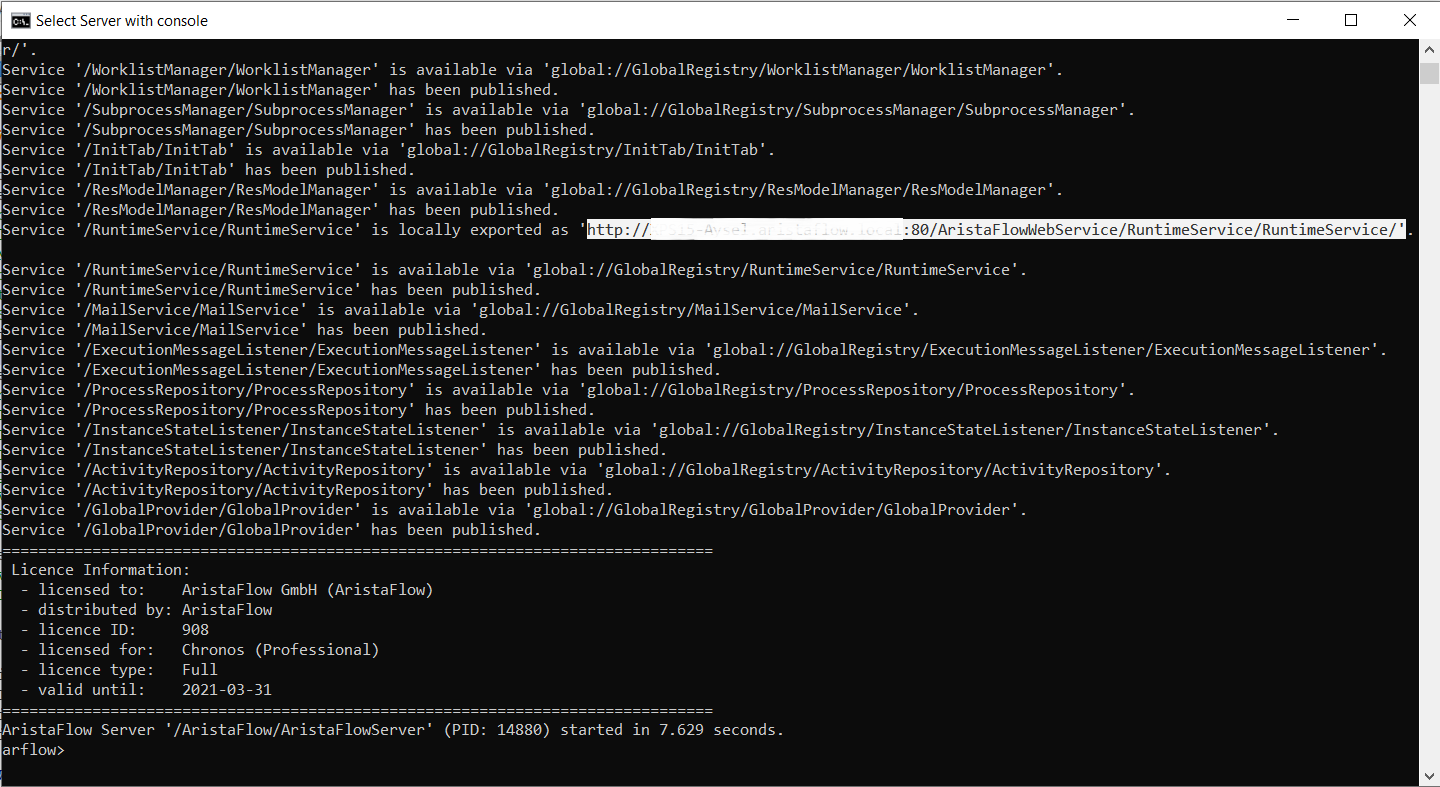
Now start the Aristaflow server, Automatic Client and ProcessImageRenderer and take the corresponding http URLs from the consoles with AristaFlowWebService in the path. Copy these URLs using the key combination Ctrl+C to enter them in the Outlook Add-In settings.
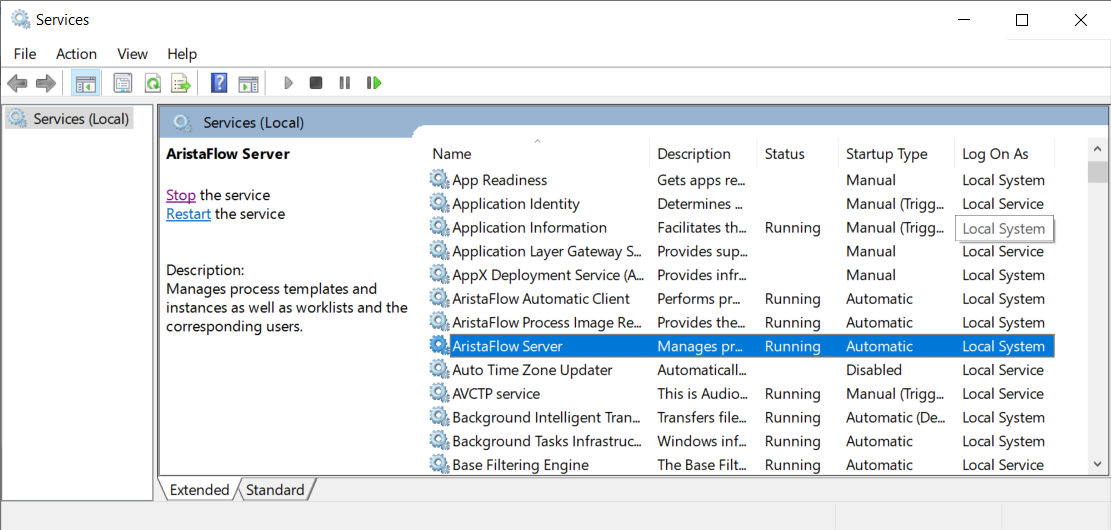
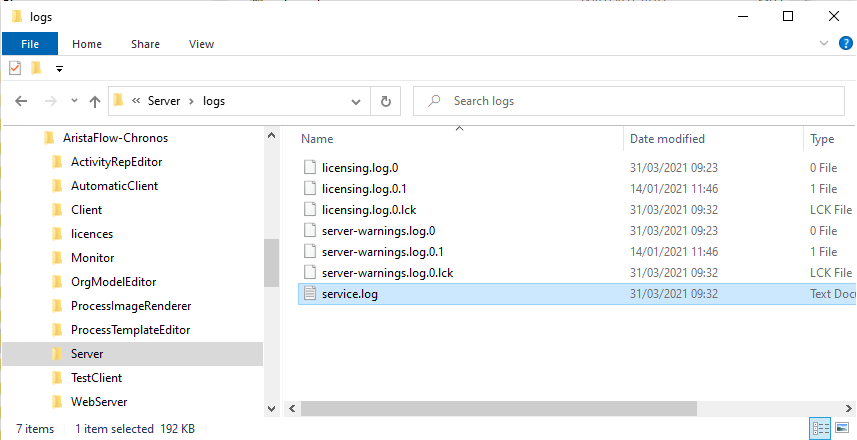
 Hint: If you start the server as a service under Windows services, you will find the http-URLs in the installation directory of the corresponding server under the path ...\logs\service.log. Open these files in an editor and take the URLs with AristaFlowWebService in the path.
-
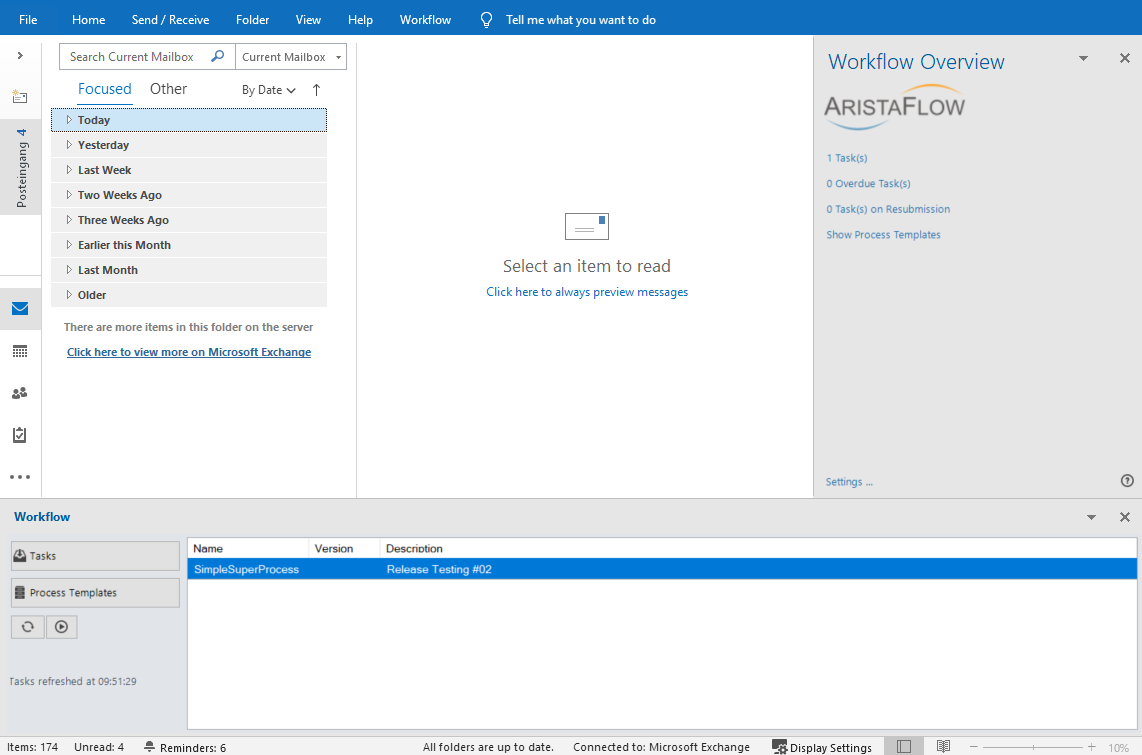
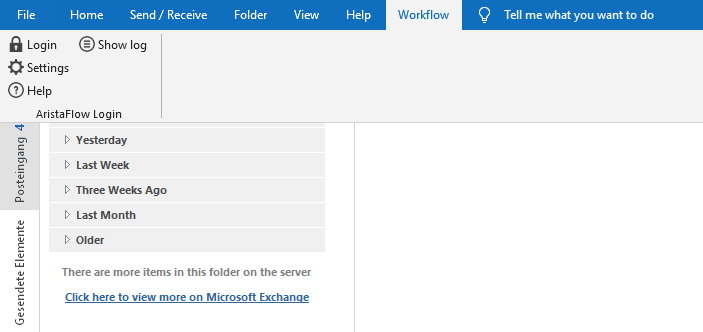
Click on Workflow -> Settings and paste the configuration values you copied from the previous step.
 AristaFlow Server: http://..localhost-Adresse../AristaFlowWebService/
HTML Runtime Manager: http://..localhost-Adresse../AristaFlowWebService/RuntimeManager/RemoteHTMLRuntimeManager/
Process Image Renderer: http://..localhost-Adresse../AristaFlowWebService/ProcessImageRenderer/ProcessImageRenderer/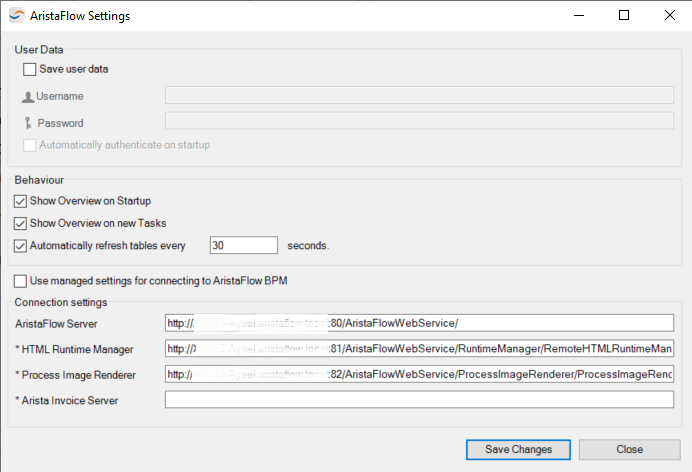
Note: The HTML Runtime Manager runs with the Automatic Client and gets the value from the Automatic Client Console.
Click Save to save the configuration values. -
Log in with stefan03 and password.
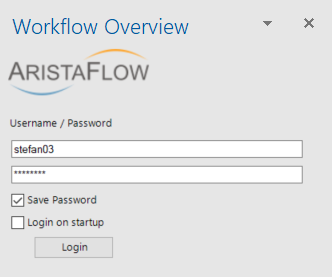
Click on Show Process Templates (on the right in the Workflow Overview tab) and start a process template.